Jun 22, 2026Blog
DIY LED Strip Installation Guide: 5 Easy Steps + 10 Pro Tips for Beginners
Master DIY LED strip installation! Follow our 5-step guide and 10 pro tips to avoid common mistakes like flickering or dead zones. Perfect for beginners!
DIY LED Strip Installation Guide: 5 Easy Steps + 10 Pro Tips for Beginners
LED strip lights are incredibly versatile, energy-efficient, and perfect for adding a custom touch to any space. While hiring a professional is always an option, installing them yourself is a rewarding project that saves money. However, improper installation can lead to uneven lighting, premature failure, or safety hazards. This comprehensive guide breaks down the 5 core steps and shares 10 pro tips to ensure your DIY LED strip project is safe, seamless, and successful—even if you’ve never wired a light before!
The 5 Core Steps to Installing LED Strips
Step 1: Gather Your Tools & Materials
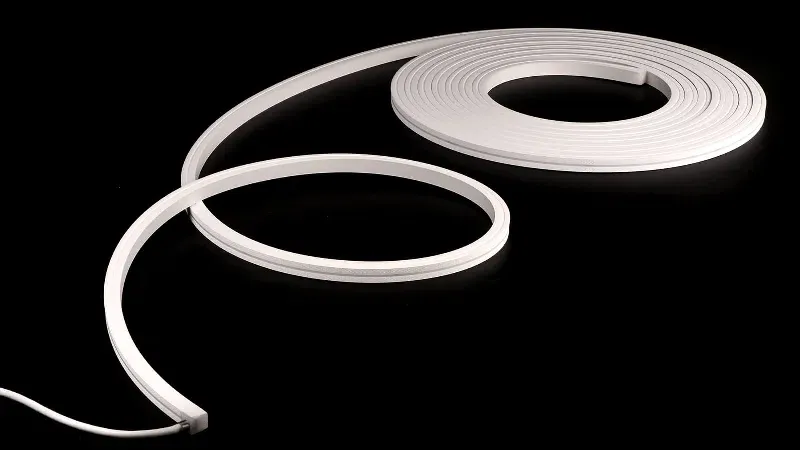
- Essential Tools: Scissors, tape measure, electrical tape, power adapter, solderless connectors, wire strippers, and a screwdriver.
- Core Materials: LED strips (preferably with high-quality 3M adhesive backing), a matching power supply/driver, jumper wires, PVC end caps, and silicone sealant (for wet areas).
- Pro Tip: Always verify that your power supply has at least 20% more wattage than the total length of your LED strips to prevent overloading.
Step 2: Measure Precisely and Cut Safely
- Use a tape measure to determine the exact length needed, leaving an extra 2–4 inches (5–10 cm) of slack for connecting to the power source.
- CRITICAL RULE: Always cut exactly on the designated scissor marks (usually every 2–4 inches). Cutting anywhere else will sever the circuit and ruin the strip.
- After cutting, use wire strippers to prep the connection points, ensuring there are no copper burrs that could cause a short.
Step 3: Connect Power & Strips (POWER OFF FIRST!)
- Safety First: Never wire anything while the system is plugged in. Turn off the main breaker.
- Connect the LED strip to the driver using snap-on connectors or by soldering. Pay strict attention to polarity (Red = Positive/+ , Black = Negative/-).
- Tip: If extending the run, use matching extension wires and ensure the total length doesn’t exceed the driver’s maximum capacity.
- Quick Test: Briefly plug in the power to verify the strip lights up evenly without dark spots or flickering before mounting.
Step 4: Mount the Strips & Hide the Wiring
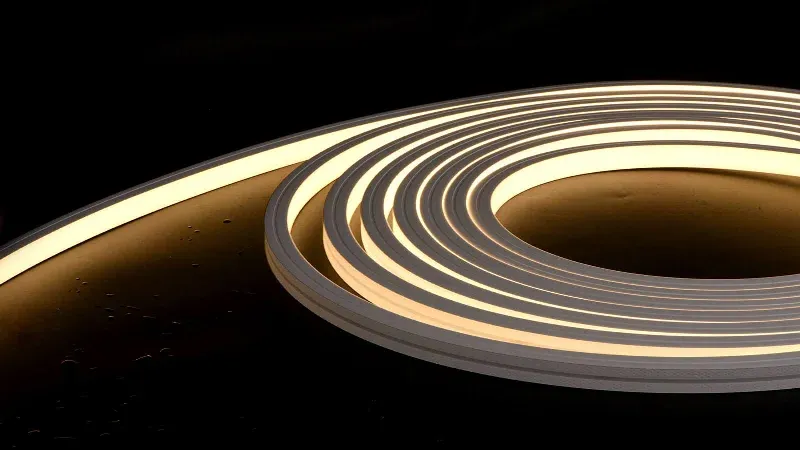
- Mounting: For indoor dry areas, peel the backing and press firmly. Use a squeegee to eliminate air bubbles. For outdoor or humid spaces, mount inside aluminum channels.
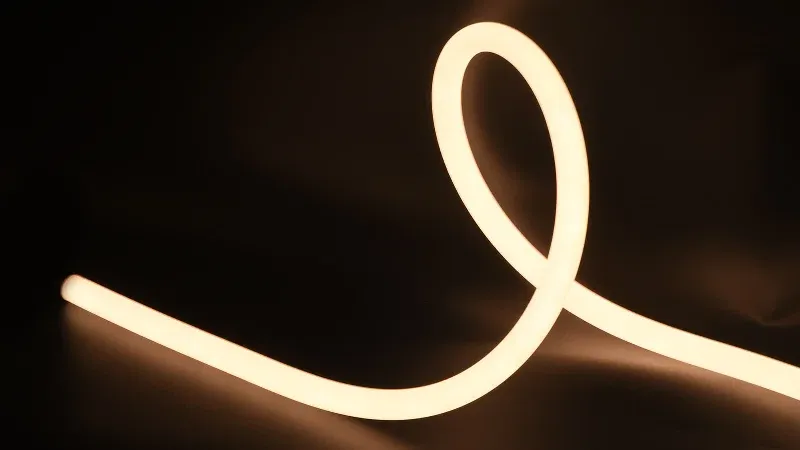
- Corners: Bend gently around curves with a minimum radius of 2 inches (5 cm). Never fold at a sharp 90° angle.
- Cable Management: Use cable clips or raceways to organize power wires so they remain hidden and neat.
- Waterproofing: In kitchens or bathrooms, apply silicone sealant over all splices and slide on PVC end caps to prevent moisture ingress.
Step 5: Final Inspection & Testing
- Double-check that all connections are secure, no bare copper is exposed, and corners aren't pinched or overlapping.
- Restore power and test the entire run for uniform brightness. If using smart controllers, test dimming and color-changing functions.
- Finishing Touches: Tuck the power supply away safely. Ensure it is well-ventilated and kept away from flammable materials.
10 Pro Tips for a Flawless & Safe Installation
- Plan Before You Stick: Mark your layout with painter's tape or chalk before peeling any adhesive. Once stuck, repositioning damages walls.
- Test Before You Cut: Unroll and briefly test the entire reel of LED strips before making any cuts to ensure there are no factory defects.
- Mind the Corner Radius: Use dedicated corner connectors or bend the strip gently; sharp folds crack the PCB and kill LEDs.
- Beware of Voltage Drop: Do not daisy-chain multiple long runs end-to-end. Keep continuous runs under 16 ft (5m) for 12V systems to avoid dimming at the tail end.
- Color-Code Your Wires: Use red tape for positive (+) and black for negative (-) to instantly prevent wiring mistakes.
- Let Drivers Breathe: Power supplies generate heat. Never stack them or bury them in insulation; proper ventilation doubles their lifespan.
- Hide the Brick: Conceal bulky power adapters behind cabinets, inside closets, or within decorative enclosures for a clean aesthetic.
- Use Aluminum Channels: They aren't just for looks! Aluminum diffuses heat away from the LEDs and creates a professional, glare-free light beam.
- Double-Seal Outdoor Joints: Relying solely on IP-rated tape isn't enough outdoors. Combine silicone sealant with waterproof end caps for ultimate protection.
- Schedule Annual Maintenance: Every six months, check connectors for looseness and blow dust out of the power supply vents.
Frequently Asked Questions (FAQ)
Q: Why is part of my LED strip not lighting up after installation?
A: Check three things: Did you cut exactly on the marked line? Are the connectors seated tightly? Is your power supply large enough to handle the total wattage? Test segment-by-segment to isolate the issue.
Q: How do I stop my LED strips from flickering?
A: Flickering usually indicates an incompatible driver, loose wiring, or an overloaded circuit. Ensure your power supply matches the strip's voltage/wattage, tighten all connections, or upgrade to a higher-quality constant-voltage driver.
Q: Can I mix different color temperatures on the same power supply?
A: Yes, as long as they share the same voltage (e.g., both are 24V) and the combined wattage stays within the driver's limit. However, mixing brands may result in slight color mismatches.
Author: [HSTLIGHT]
Published: June 22, 2026
Source: [hstlight.com]